Sunday, April 26, 2020
Getting ready for paint and transfers
Finally got around to filling the join in the boiler, fitted a couple of other small parts and designed the lining, numbers and cartouche for the transfer for the side sheet. Cheers Ian
Thursday, April 23, 2020
Accomodating 'finescale' wheels meant a complete rethink on the boiler!
The loco body is almost ready for paint but it has gone through many changes since last week! I started to realise that with a model, I could design in the necessary clearances for the closer together than scale wheels which necessitated creating a cut-out in the rear of the smokebox for the front splasher, and in the boiler side and the firebox front for the driving wheel splasher. I realised this would be easier if the boiler was also in resin so, in this 7mm model, I redrew it all and made it in two parts with the joint being mid-way, just under the dome in this photo. For the 4mm version, I will be able to print this all in one piece. I may also print the splasher top and have an inset etch for the front.
Anyway, starting to get the detail on all this and will need to think of paint soon! The twirly cartouch around the number also needs drawing and printing. Oh, lots to keep me going yet!!
Cheers, Ian
Sunday, April 12, 2020
On its wheels!
A bit of a battle with bearing hole sizes has ensued. When I designed it, I had bearings from Roxey which are 6.3mm outside diameter and now I have some from Markits that are 7mm! I only just left enough metal in the design to be able to accommodate these luckily as they aren't there in real life, just outside bearings which on the model are dummy ones. Anyway, it matches the tender for height so all going well. More soldering now and then a bit of cutting of boiler and firebox to accommodate 'finescale' wheels and then I can hopefully get the 3D parts glued on and put some paint on it. Happy Easter!
Saturday, April 11, 2020
153 continues, start of the loco body etc
Another day, another bit done!
So, I realised I needed to design and print a lot of parts for the loco before I could finish this, so that's what I have been doing, whilst starting to solder some parts together. Here are the front buffers and bufferbeam, smokebox, smokebox cylinder lubricator, weird thing at the rear of the chimney(anybody know what it might be?), the chimney, clack valves, dome, salter spring, axleboxes, springs, whistle, firebox with backhead, safety valve both inner and outer, the main part of the footplate and outside frames soldered together, the top of the motion plate soldered, then the front splasher, driving splasher, cab front and sidesheets. I have a boiler to roll also and managed to get the brackets to fit the cab front to and a couple of handwheels onto the firebox top as well as the sight glass, regulator handle, and firebox door etc onto the backhead all part of the same print. I have started the chassis also and am trying to get all the soldering sorted before gluing on all the prints. Oh, and a photo of what I am trying to make!
Cheers Ian
So, I realised I needed to design and print a lot of parts for the loco before I could finish this, so that's what I have been doing, whilst starting to solder some parts together. Here are the front buffers and bufferbeam, smokebox, smokebox cylinder lubricator, weird thing at the rear of the chimney(anybody know what it might be?), the chimney, clack valves, dome, salter spring, axleboxes, springs, whistle, firebox with backhead, safety valve both inner and outer, the main part of the footplate and outside frames soldered together, the top of the motion plate soldered, then the front splasher, driving splasher, cab front and sidesheets. I have a boiler to roll also and managed to get the brackets to fit the cab front to and a couple of handwheels onto the firebox top as well as the sight glass, regulator handle, and firebox door etc onto the backhead all part of the same print. I have started the chassis also and am trying to get all the soldering sorted before gluing on all the prints. Oh, and a photo of what I am trying to make!
Cheers Ian
Sunday, April 05, 2020
153 next and trying to get other bits completed ready for paint.
Well, with a bit of extra time on my hands, I have started the 7mm test etch assembly for Cravens 153. Page 71 of Bradley Vol 1 if you want to take a gander.
I didn't manage to get the 7mm Slaughter Goods to the etchers so I am doing what I do have.
3D printing is also just for my bits at the mo as I am almost out of IPA to clean the resin prints with, wish it was the beer as I can still get that!
So I drew the tender parts in 3D after assembling the etched parts I will include in the revision of the etches.
I didn't manage to get the 7mm Slaughter Goods to the etchers so I am doing what I do have.
3D printing is also just for my bits at the mo as I am almost out of IPA to clean the resin prints with, wish it was the beer as I can still get that!
So I drew the tender parts in 3D after assembling the etched parts I will include in the revision of the etches.
I also added the 3D resin parts to some type 8 and 9 carriages
Now I need to think about their interiors then paint and finish with transfers which I have printed using the new laser printer and some decal paper. Simon has reported back on the first set I printed for Blatchington and he has used them okay.
So then I spent the day designing the smokebox with all its rivet heads! That took a bit of head scratching to get them on the wrapper but now sorted. Also, the chimney base is quite a crude style, a flat part curved around the smokebox wrapper with a nice shape coming out! Why do I pick these difficult things!
Anyway, rather a bit more to do so will get on with it! Bye for now!Thursday, March 19, 2020
Slaughter Craven Goods – clearing up some of the instructions
Phil has pointed out there is no precise position for the motion plate mentioned anywhere. It should be 3'8and a quarter inches in front of the middle axle ie 14.75mm in 4mm scale.
Hope this part of the GA helps.
Mike has been asking some questions and so I thought others of you would also be doing this over the next few weeks so I am, in the greatest Waldron tradition, placing an addendum to the instructions here, as it happens. My responses in red.
Hi Ian:
Good day yesterday.
Ive just been trying to get my head round the copious instruction diagrams. Puts mine to shame!! They were only b&w, but I did put arrows in!!
On the ‘Loco Chassis Parts Location‘ page, the white piece above the letter ‘A’ in the green circle looks like being a motion plate(?) with 5 square holes each side ... presumably for cylinder slide bars?
Is that a residue from intended etched slide bars, maybe changed your mind?
I note you mention a drop in set of motion parts for the future. Presumably the etched version you produced for the C class a few years ago isn’t that?
Bravo for a super-detailed kit!
Mike
Hi Mike
The parts above the A are the rear of the cylinder block and the parts above the B are the motion plate. The white is just the rear of the etch, being blank, and the drawing of the etch sheet to the left of the diagram should show what is what. The parts above the A, once added together, by soldering or whatever other means, are then turned through 180 degrees so the detail parts are to the rear and then get put into the chassis at the rear of the cylinder casting position. Yes the rectangular slots are there to help people who realise this is for a representation of the slide bars and some parts of the etch edge are the correct size to cut up and put in those rectangles and meet the motion plate front part – the parts above the B – but as you rightly say, there is in development a drop in part for this which will likely be available some time this year or next.
I hope that clears it up.
Still at David’s in Kent so cannot use the actual artwork to check but I think what I have said above is correct.
Many thanks
Ian
Thanks Ian
That makes sense now.
Is there either a piece on one of the frets should one choose to close it up to form the block, or introduce a home-made item?
Hi Mike
There is a front and a rear to the cylinders but I didn’t think anyone would bother putting the underside of the casting in as I was using the hollow parts to solder the compensating beam for the front axle inside the cylinder space so it wouldn’t show.
Cheers
Ian
Sorry to add one more question....
Can’t work out how the etched loco spring shape related to the printed ones .....
Mike
The etched spring is the driving wheel spring inside the splasher, over the inside frame. See the photos
Oh ok.
I can just see a corner on the top left photo peeking out! Not really visible on the others.
I’ll check my own collection of photos.
I’ll leave you in peace!
M
Loco body parts location diagram 3 show where to put them if you can get the space.
Cheers
Ian
Looks like they were gone by renumbering.
Sorry
mate ... another question!
The tender coping ... is it curved horizontally or a simple ‘straight out’ angle?
The pictures suggest curved.
Looking forward to getting building after my mate and I have rebuilt my crumbling garage!!
New roof being fitted, to protect lathes, milling machine & tool grinders from the storm rainwater ingress & flooding (not river!) I’ve been fighting all winter, but found parts of the walls crumbling! It was only built in the early 60s.
Mike
Hi Ian
Sorry I’ve got some more points I’m unsure about re Slaughter goods:
1. Are the tender copings flat or curved when viewed from the front/rear?
2. Are the coupling rods pivoted on the crank pin or knuckle joint?
3. There are 2 holes in the loco-tender drawbar - which should be used for P4?
4. Where do the two little c45degree cranks attached between the water tank top and holy (4 hole!) inner tender panels fit?
5. I assume the 2 little T shapes on body sheet 2 are lamp irons?
6. The two 45degree ended 4 rivet strips o body sheet 2 by the 4 cab steps go where? Or are they spares?
7. The two etched brass cab spectacle plates - are they intended to be soldered together for strength?
8. Presumably the extra pressure gauge is in case it isn’t located as per the rhs one?
I hope you don’t think I’m being picky. You’ve done a grand job! Perhaps the hand rests are a bit too fine as the end eyes have virtually disappeared.
I remember doing something like that with the first shot at Dieppe. I decided then that if people wanted them superfine it was a case of them needing to file them down!
Mike
Sorry I’ve got some more points I’m unsure about re Slaughter goods:
1. Are the tender copings flat or curved when viewed from the front/rear?
2. Are the coupling rods pivoted on the crank pin or knuckle joint?
3. There are 2 holes in the loco-tender drawbar - which should be used for P4?
4. Where do the two little c45degree cranks attached between the water tank top and holy (4 hole!) inner tender panels fit?
5. I assume the 2 little T shapes on body sheet 2 are lamp irons?
6. The two 45degree ended 4 rivet strips o body sheet 2 by the 4 cab steps go where? Or are they spares?
7. The two etched brass cab spectacle plates - are they intended to be soldered together for strength?
8. Presumably the extra pressure gauge is in case it isn’t located as per the rhs one?
I hope you don’t think I’m being picky. You’ve done a grand job! Perhaps the hand rests are a bit too fine as the end eyes have virtually disappeared.
I remember doing something like that with the first shot at Dieppe. I decided then that if people wanted them superfine it was a case of them needing to file them down!
Mike
Hi Mike
No worries.
- Picture on page 2 and 4 of the instructions look like slightly curved copings. GA plans were a bit indistinct so I have drawn straight corners but slightly larger than needed to allow for final fitting.
- Either solid rods for no compensation/springing or pivot on the knuckle as per prototype. Or parts from the both if you want to pivot on the crankpin.
- Depends on your curves, nearer for prototype, further for radius 2.
- On the GA these seem to connect to the water cut off pivot wires. They fit below the footplate in line with the water hoses from the tender to the loco. If you are fitting these – not supplied – they could be used down there in the gloomy bit!
- Between one side of the top of the motion plate and the extended cab side ? Yes.
- On Loco body parts location 2 diagram, these are arrowed. They form the corner rivet strip at right angles to the long underfootplate rivet strip with the short ends at right angles and fit up against the front buffer beam or the rear drag beam as appropriate, after these parts are fitted.
- Yes. It gets the rims on both front and rear. The pressure guage is tot he rear.
- Extra is if you can use the resin cab. I have one out of 12 that seemed perfect, rest a bit ripply. I am expecting most people to use the etched cab.
Hope that is okay. I am around for the next 12 weeks if you need ought else!!
Cheers
Ian
Thanks Ian
The item at no6 - I see the arrows in the rhs diagram on Loco Body Parts Location 2 sheet - they’re arrived from the mainly red diagram of Body Sheet 1 - from the rear end of the cab step back on the outside frames over location on the middle diagram. I get that.
The ones I meant are on the lhs (more white) diagram of Body Sheet 2. The 4 individual steps are arrowed, but the two little rivet strips with 4 rivers and 45degree but off end aren’t. Nor are the two just above the stage beam and below the outside frame backing fold-down strips - one green arrow goes right across one, but from the outer axlebox fold-ups to the solid chassis axle cut out pieces in the middle.
Mike
Hi Mike
Got you now! They are not used either. They were going to be part of the cylinder cover/frames in front of the smokebox and I forgot to remove them. The other parts are to represent the firebox/footplate rivet strip and are shown as such on the next page in diagram Loco Body Parts Location 3 although they do look like they are pointing to the reversing link!
Cheers Ian
Thanks Ian that clears that up.
I’m taking the opportunity to annotate the instructions as the builder was rained off the garage roof today, so no truss and rafter building for me today. Garage is a wet mess! I hope it’s too cold for rust to set in! Tarpaulins were got on yesterday just after the rain started!! Bin. Bags are “protecting” the machine beds!
Btw, on the loco and tender drag beams, there’s a folding end ...? We’re they timber?
Or are the fold round ends for locating the two
pieces into the frames?
M
Hi Mike
The half etched lines are for location
purposes, not folding. These were flat steel sheets, not timber.
Cheers Ian
Or are the fold round ends for locating the two
pieces into the frames?
M
Hi Mike
The half etched lines are for location
purposes, not folding. These were flat steel sheets, not timber.
Cheers Ian
M
Sunday, March 15, 2020
Belgravias 3D fittings
These are the fittings for the 7mm Belgravia etches and the Craven tender etches. I am also working on the Stroudley outside frame tender fittings and then will work gradually through the rest of the available 7mm etches from EB Models.
Stroudley and Billinton carriage and wagon transfers have also been trial printed and just waiting to see if these are okay before making them available.
Marsh Goods loco, lettering and Lining almost ready to go.
Stroudley lettering and loco lining being tested over the next few days.
Cheers
Ian
Saturday, February 15, 2020
7mm 3D resin prints starting to be drawn and printed
Well the Slaughter Goods is selling in 4mm, just waiting some more etches at the moment. I am drawing them in 7mm also and hope to have them with me to show at the Windmill meeting in March.
I am also busy with getting 3D drawings and prints ready for the existing 7mm EB Model kits. These for the Belgravia class. The backhead is a one piece print and the Adams safety valve cover does fit over the springs!
This also shows a 4mm version I am playing about with, printing it all in one piece as a trial.
I still haven't managed to get further with the Stroudley loco transfers yet but still trying with local printers.
Saturday, November 02, 2019
Craven Slaughter Goods Kit
I am cracking on with the instructions and thought I should post a couple of the drawings that will be part of the instructions.
These show the etched parts in a red/white combo; grey is the printed resin parts and yellow are the bits of wire, handrail knobs, bearings/hornblocks that I will not be supplying. I asked a couple of people about this and was told by both that they replace the bearings with hornblocks anyway, but they had different preferences for those and that the wire and handrail knobs were not a problem as they always have some in stock. It saves an enormous amount of time and money if I don't supply those parts, and allows me to keep the price to £100.
The alternative versions for the loco springs are shown behind and to the left of the body parts. As are the different types of smokebox door dart, safety valve, chimney, sand boxes with operating links, whistle, cab side sheets, smokebox blower control and injectors for the loco, and the alternative springs, rear toolbox and front tool boxes for the tender.
All these are for the Slaughter Standard Goods. I plan to get two other types available later next year; one of the Cudworth types and one with the remaining two different cab sheets. They will be offered in the same format of mixed resin prints/etching.
I am just awaiting the etches for the 4mm version and am printing off the resin components at the moment whilst writing/drawing up the instructions.
The chassis have three widths of spacer on the etches and provision of full compensation is built in with twin side beams provided and location for a single rocking axle also on both the loco and tender chassis. Coupling rods are provided for either using compensation or not.
There will be an inside motion unit available later as a resin print.
Both Craven and Stroudley number plates will be available when I get the kit etches as they in the same order.
I will be shipping these by the last week of November and then again in February. I am also hoping to have 7mm versions available by the March Windmill Meeting of the Brighton Circle.
Back to the instructions!
Thursday, October 24, 2019
Craven Slaughter Goods available mid November
I have heard back from the etchers today that the Craven Slaughter Goods etches will be me about 7th November so I should have them packaged and ready to go to people by mid November. They will comprise of the etches, the resin castings and the instructions. I am not going to send bearings, handrail knobs or wire with the kits as I am trying to simplify operations somewhat and also trying to keep the costs down and ease the cashflow at this end.
Variations supplied are for the chimney, safety valve casing, cab extra side sheets as well as the footplate sandboxes at the front and I will supply two sizes of splashers for scale or OO/EM flanges. Also different combinations of tender toolboxes and springs.
The photo a couple of posts below shows the resin castings parts and the cab will also be supplied this way but is also on the body etch. As seen at the Brighton Circle AGM.
By getting rid of a lot of the brass and nickel silver etches and replacing them with the resin parts - the firebox, smokebox, springs etc - I have been able to keep the price to a what I consider reasonable one of £100. This will still need you to purchase wheels, motor and gearbox, paint etc but also you will have to supply the type of bearings you want to use and the wire for the handrails.
Wheels are 5 foot outside crank for the loco and 4 foot for the tender. The chassis are designed to use standard top hat bearings for one eight of an inch or two millimetres as appropriate and there are cut out ready to accept the standard hornblocks for those who wish to use them. There are also compensation beams included on the etches. I designed this for a small Mashima motor and a High Level gearbox driving the rear wheels. I will look into the current availability and post my recommendations on here soon.
I have been asked about the outside cranks, which are Resin castings to fit one eight inch axles and use Alan Gibson crankpins. I know some people have used this system well but others are taking the approach of either buying Alan Gibson or Markits versions. The Alan Gibson ones can easily be altered to the correct shape, I haven't used the Markits ones so cannot comment.
A drop in inside motion casting is being developed and will be available next year.
The kits will be supplied in an A4 sized, 1cm thick postage box that I can send as a large letter.
I will be able to supply either Craven or Stroudley numberplates for an extra £4 if bought with the kit.
Reservations now being accepted.
Cheers
Ian
Variations supplied are for the chimney, safety valve casing, cab extra side sheets as well as the footplate sandboxes at the front and I will supply two sizes of splashers for scale or OO/EM flanges. Also different combinations of tender toolboxes and springs.
The photo a couple of posts below shows the resin castings parts and the cab will also be supplied this way but is also on the body etch. As seen at the Brighton Circle AGM.
By getting rid of a lot of the brass and nickel silver etches and replacing them with the resin parts - the firebox, smokebox, springs etc - I have been able to keep the price to a what I consider reasonable one of £100. This will still need you to purchase wheels, motor and gearbox, paint etc but also you will have to supply the type of bearings you want to use and the wire for the handrails.
Wheels are 5 foot outside crank for the loco and 4 foot for the tender. The chassis are designed to use standard top hat bearings for one eight of an inch or two millimetres as appropriate and there are cut out ready to accept the standard hornblocks for those who wish to use them. There are also compensation beams included on the etches. I designed this for a small Mashima motor and a High Level gearbox driving the rear wheels. I will look into the current availability and post my recommendations on here soon.
I have been asked about the outside cranks, which are Resin castings to fit one eight inch axles and use Alan Gibson crankpins. I know some people have used this system well but others are taking the approach of either buying Alan Gibson or Markits versions. The Alan Gibson ones can easily be altered to the correct shape, I haven't used the Markits ones so cannot comment.
A drop in inside motion casting is being developed and will be available next year.
The kits will be supplied in an A4 sized, 1cm thick postage box that I can send as a large letter.
I will be able to supply either Craven or Stroudley numberplates for an extra £4 if bought with the kit.
Reservations now being accepted.
Cheers
Ian
Sunday, October 20, 2019
Monday, October 07, 2019
Craven Goods castings
This photo shows the castings that I have finally got printed on the resin printer, ready for the Craven Slaughter Goods model.
This shows for the Loco:
| Chimney - original | ||||||||||||||||||
| Chimney - Stroudley style | ||||||||||||||||||
| Dome | ||||||||||||||||||
| Safety Valve - original style | ||||||||||||||||||
| Safety Valve - boxed in style | ||||||||||||||||||
| Whistle | ||||||||||||||||||
| Springs - early | ||||||||||||||||||
| Springs - late | ||||||||||||||||||
| Buffers | ||||||||||||||||||
| Clack Valves | ||||||||||||||||||
| Smokebox side lubricator - small | ||||||||||||||||||
| Smokebox side lubricator - long | ||||||||||||||||||
| Safety Valve Spring columns | ||||||||||||||||||
| Smokebox Door | ||||||||||||||||||
| Smokebox door dart | ||||||||||||||||||
| Cylinder Cover Plate/frames | ||||||||||||||||||
| Sandboxes on footplate | ||||||||||||||||||
| Pipework unions after clack valves | ||||||||||||||||||
| Injector pipework 4 way union ashpan side | ||||||||||||||||||
| Outside Cranks | ||||||||||||||||||
| Splashers | ||||||||||||||||||
| Smokebox unit | ||||||||||||||||||
| Firebox unit | ||||||||||||||||||
| Buffer beam | ||||||||||||||||||
Reversing
lever/unit
and for the tender:
It has taken me far longer to draw all these and then get them printed on the 3D printer with a resolution of 0.002mm so I may not have a finished demonstration model at the AGM.
Cheers Ian
|
Sunday, April 21, 2019
3d printing while looking at a stream!
Just looking at Gary building one of Linnys kits at https://www.youtube.com/watch?v=clBUBXF7_-o
Excellent quality and able to interact through text 'chats'. So here are some pics of the bits I was UV curing whilst listening!
Some bevel gears for Type 15 brake vans in G3 and 7mm but have some in 4mm but very small!
The other is 4mm bungs for oil lamps - trying a print at 0.002mm resolution to see if the handles would come out in 4mm scale! Only just! The wheel insert is for Mike Waldron as he is doing something that needs a 4' split spoke wheel centre. Slowly getting the hang of the 3D software!
Cheers
Ian
And here is a photo of some other bits - door vents, Craven carriage bits, Pullman bogie sides in 4 and 7mm. Lots more going on, really enjoying the 3d work!Sunday, March 31, 2019
The next development
Well some of you may have read on RMWeb or Western Thunder about modellers using the latest type of resin based 3D printers. I was reading Mike Trice's posts https://www.rmweb.co.uk/community/index.php?/topic/142773-anycubic-photon-3d-dlp-printer/
and saw he had bought one from Amazon recently and he was having great results from the start. I idly flicked over to Amazon and they were having a sale that day, £90 off list price! Too much temptation! I have been thinking about this as I have tried making the castings in various materials over the years and have a whole load of etches that need castings to get things complete. This is the answer.
I also found I could download Fusion 360 for free - a 3D CAD programme and so I did and found some excellent, simple to follow tutorials from Warwick University aimed at school age students and did them and then started to see what I could draw for the LB&SCR modelling.
So, a loco I started about ten years ago was the Slaughter version of the Craven Standard Goods. A lovely looking beast. I didn't realise the complexity of outside frames etc and all the twiddly bits of Cravens engines. I had some etching completed and soldered some of it together, it wasn't far out but the outside frames slot for the axleboxes was too large and I had no castings! Well, I have now and am redrawing the etches to be able to complete a mixed media kit. I had great trouble with the appearance of the loco springs from layers of etching and the firebox curves back and front were made from about six layers of etch soldered together and filed up. Not any more as I have managed to draw all these and a great deal more in the 3D CAD and then print them. The last bit for the loco body has just come out the printer and so I will start on the tender and other parts next.
I have been drawing the parts in both 4 and 7mm scale and will continue to do so. Things will appear of EBModels website when ready to sell but I will try and keep this blog going to show you developments as they occur.
I am pleased that my general doom and gloom after last Novembers burglary has been got rid of through a combination of friends chatting and this new toy! I intend to try and get a whole load sorted over the next few months so stay tuned!
7mm parts at front and left, 4mm parts at right rear. At last the springs will be in one piece and not from loads of etch layers. I am very pleased and want to get other bits sorted now and then get some things finished, aiming for October AGM of Brighton Circle to have kits ready.
Cheers Ian
and saw he had bought one from Amazon recently and he was having great results from the start. I idly flicked over to Amazon and they were having a sale that day, £90 off list price! Too much temptation! I have been thinking about this as I have tried making the castings in various materials over the years and have a whole load of etches that need castings to get things complete. This is the answer.
I also found I could download Fusion 360 for free - a 3D CAD programme and so I did and found some excellent, simple to follow tutorials from Warwick University aimed at school age students and did them and then started to see what I could draw for the LB&SCR modelling.
So, a loco I started about ten years ago was the Slaughter version of the Craven Standard Goods. A lovely looking beast. I didn't realise the complexity of outside frames etc and all the twiddly bits of Cravens engines. I had some etching completed and soldered some of it together, it wasn't far out but the outside frames slot for the axleboxes was too large and I had no castings! Well, I have now and am redrawing the etches to be able to complete a mixed media kit. I had great trouble with the appearance of the loco springs from layers of etching and the firebox curves back and front were made from about six layers of etch soldered together and filed up. Not any more as I have managed to draw all these and a great deal more in the 3D CAD and then print them. The last bit for the loco body has just come out the printer and so I will start on the tender and other parts next.
I have been drawing the parts in both 4 and 7mm scale and will continue to do so. Things will appear of EBModels website when ready to sell but I will try and keep this blog going to show you developments as they occur.
I am pleased that my general doom and gloom after last Novembers burglary has been got rid of through a combination of friends chatting and this new toy! I intend to try and get a whole load sorted over the next few months so stay tuned!
7mm parts at front and left, 4mm parts at right rear. At last the springs will be in one piece and not from loads of etch layers. I am very pleased and want to get other bits sorted now and then get some things finished, aiming for October AGM of Brighton Circle to have kits ready.
Cheers Ian
Sunday, November 11, 2018
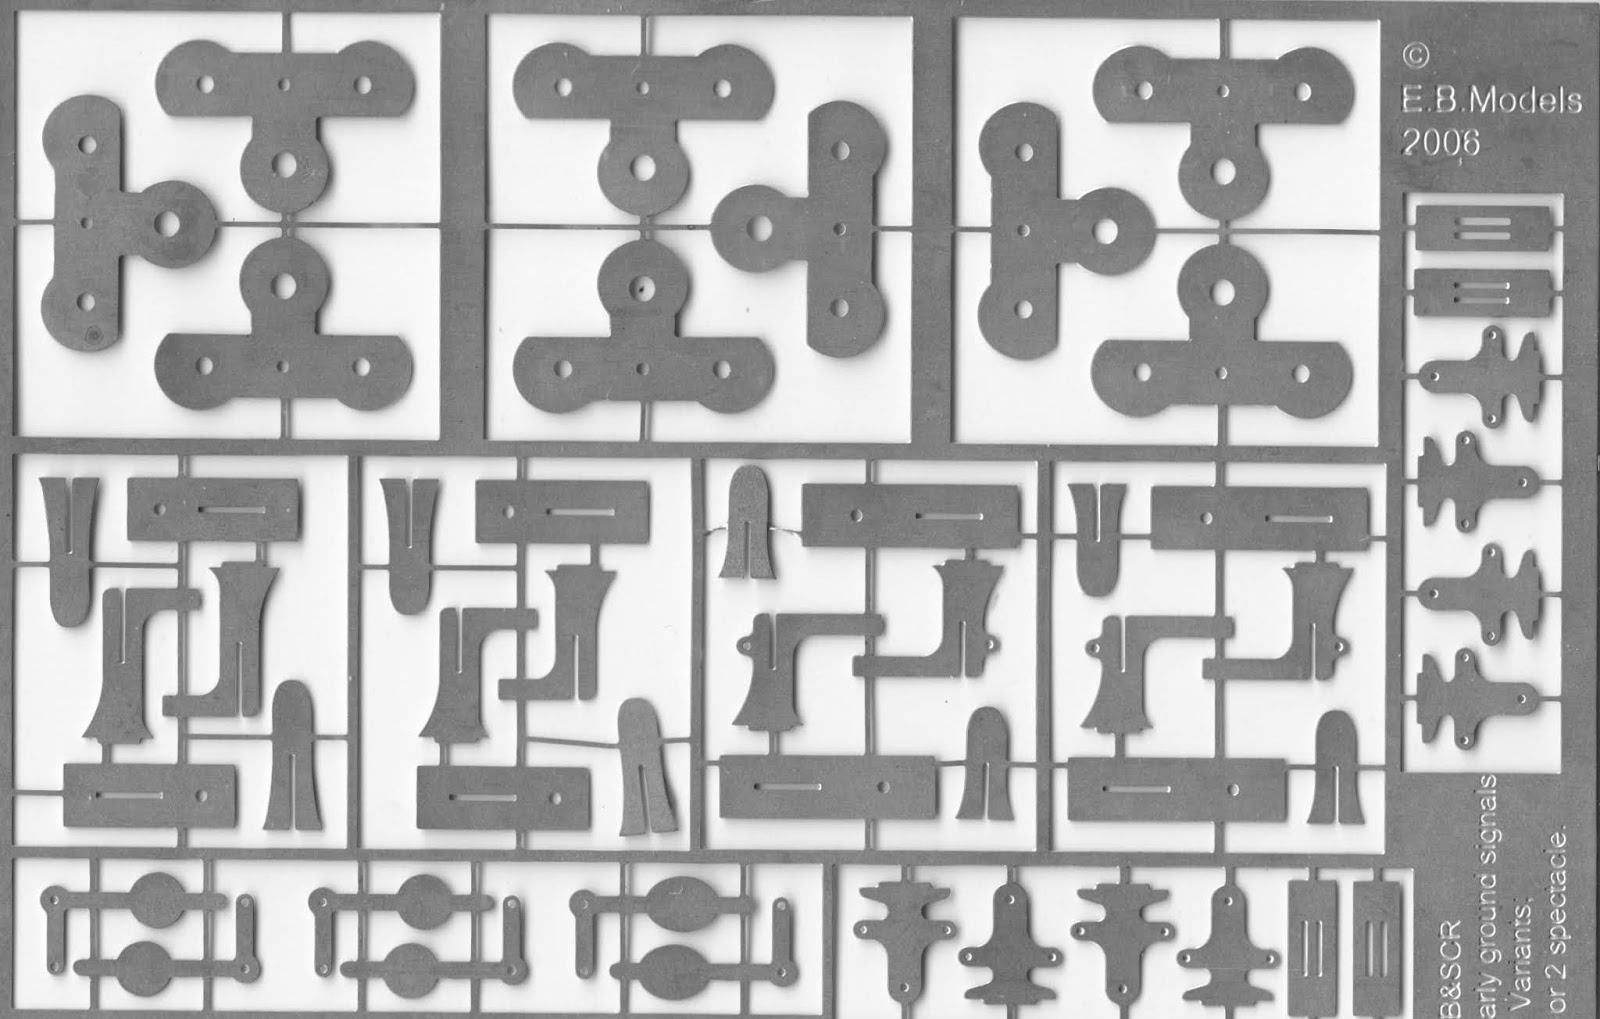
Signal Parts for EB Models
There follows a list of all the parts we do have, with prices and pictures of the etches following, although the software to create this doesn't allow me to put the pictures in the correct order!:
Subscribe to:
Posts (Atom)